How To Install Roof Flashing (Homeowner’s Guide)
Roof flashing is an essential material used on homeowners’ roofs. Without this type of flashing, leaking water, strong winds, inclement weather and other hazards can creep into your home and cause long-lasting and expensive damage. This material helps keep your roofing structures, such as vents, chimneys and skylights, in tip-top shape.
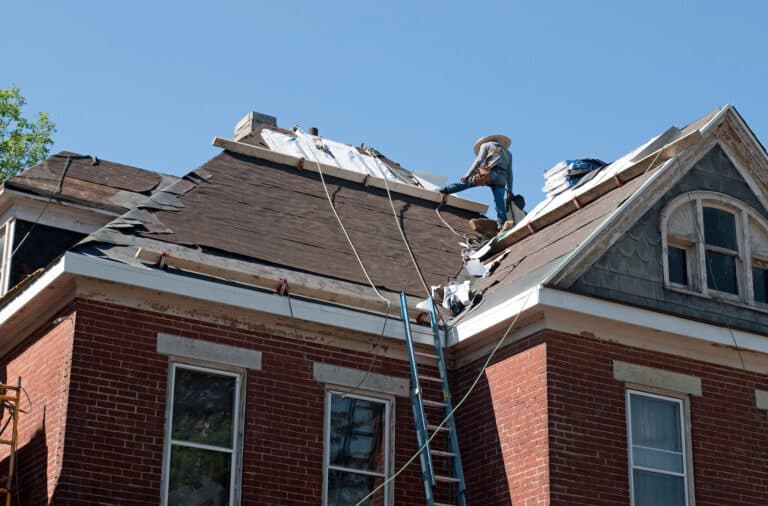
However, flashing doesn’t last forever. Like anything else on a home, you can repair or replace the tiling, cement, asphalt shingles, floorboards and walls at some point during your house’s lifespan. In this case, you need to determine if you should do a roof flashing on your own or if you should hire a roofing contractor.
Do you need a professional to do roof flashings installation for you? It’s possible based on the scope of the project. Let’s see the basic steps of how to install flashing to protect your home from damage and expensive repairs.
What Is Roof Flashing?
What are the different types of roof flashings? Roof flashing is a crucial part of the structure that helps guide water from dripping into the home and prevents structural collapses. Choosing the right type of roof flashing can help a homeowner’s roof become longer-lasting.
Continuous Flashing
One type of roof installation that homeowners may choose is continuous flashing. This piece of sheet metal flashing helps carry the rain from the top of the building to off of the sides. The only downside of continuous flashing is that the long piece could warp, deteriorate or fail over time.
Base Flashing
Another kind of flashing that homeowners can use is base flashing. This flashing is essential for fixtures on the roof, such as vents and skylights. Homeowners must install a base flashing around the framework to keep the entire system secure and prevent rain or a leak from getting in through the structure.
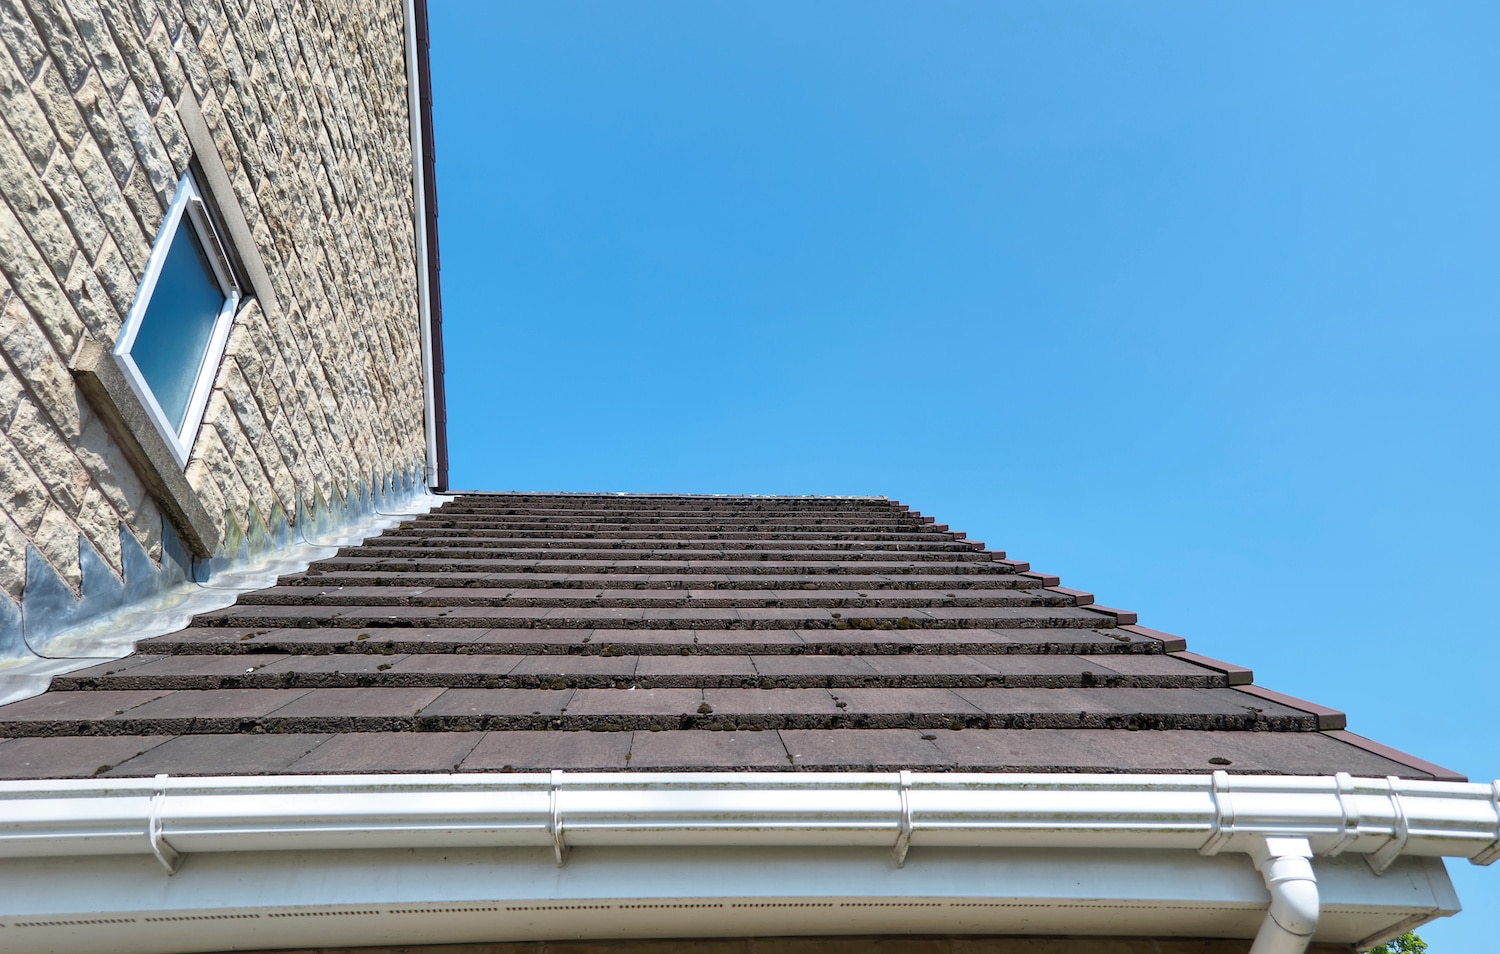
Counter Flashing
The third type of flashing is counter flashing. This product is the single piece “connection” between the base flashing and the continuous flashing that can prevent a leak. Homeowners must make sure they install the flashings correctly to stop water from harming the other roofing materials. Preventing water from pooling in the gutters or getting into the house is the primary job of counter flashing.
Skylight Flashing
Another common flashing that homeowners may need to use to fix their roofs is skylight flashing. Made purposely to help protect skylights and roof leaks from getting into an attic or covered structure, this flashing is essential for those who live in frequently rainy or snowy climates.
Kickout Flashing
Kickout flashing is required for homeowners or roofing professionals who need to connect the space where the flashing ends in the gutter and starts on the house.
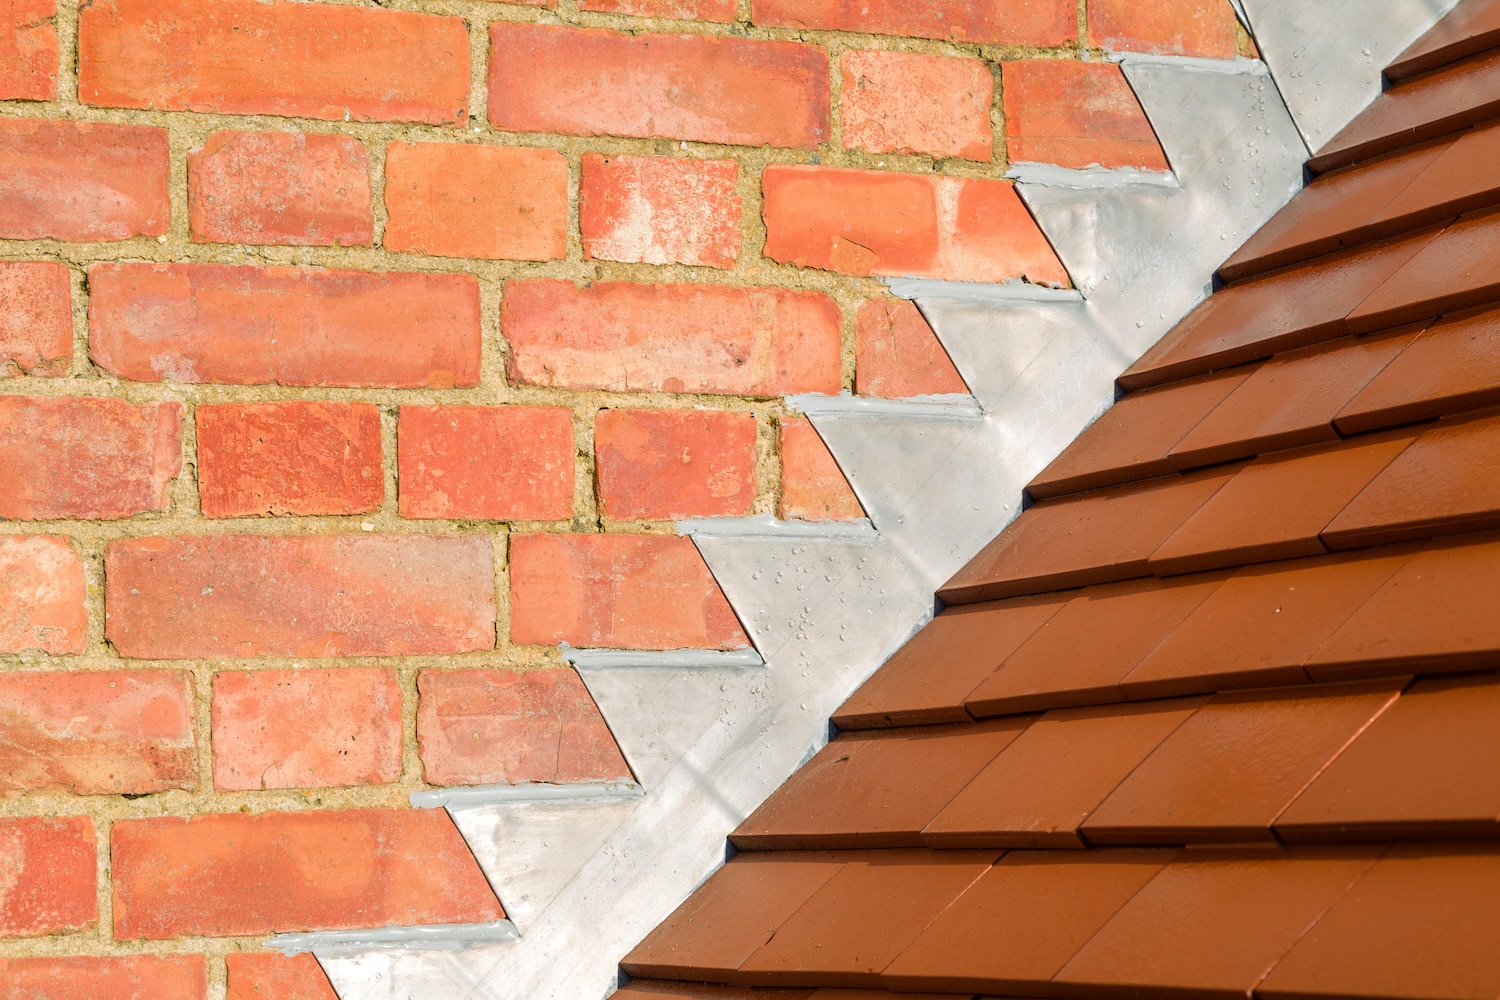
Step Flashing
The last type of flashing that’s essential for homes is step flashing. This flashing is necessary for those who need roof-to-wall flashing to direct water away from any cracks in the wall.
Roof Flashing Materials
After choosing the type of flashing required, you should consider the material of the flashing on your home. The material can make a massive difference in the longevity of the flashing and the durability required.
Aluminum
The first type of roof flashing material is aluminum. Although this product is easy to use and lightweight, it isn’t the most durable for step flashing in marine and wet climates.
Copper
Copper roof flashing is the second material people use for roof flashing installation. This material is lightweight and malleable, but it can discolor over long periods.
Steel
Homeowners also utilize steel for a roof surface. Compared to the other two options, this one is more durable and can prevent corrosion when used as valley flashing.
Tools Required for Roof Flashing
The first thing that homeowners must do for roof flashing is to gather the necessary materials to install the piece of flashing correctly. Essential tools that DIY homeowners or roofing professionals require include:
- Roofing caulk
- Roofing nails
- Snips
- Step flashing
- Roofing nailer
- Corner flashing
- Hammer bar or pry bar
Steps To Installing Roof Flashing
Once homeowners have gathered the necessary materials, it’s time to begin methodically installing the flashing.
1. Install the Roofing Underlayment
When installing the roof flashing, you’ll have to start with the underlayment for the roof. Since the shingles need extra protection and durability, adding underlayment gives the shingles a chance to have sufficient layering.
2. Install the Corner Flashing
You must lay down the corner flashing first so the flashing in the middle can come together evenly. The second step of installing roof flashing is to put down the next piece of corner flashing first to avoid any mistakes on the roof. Owners must also inspect the valley flashing, headwall flashing and apron flashing before the next step.
3. Install the Kickout Flashing
Place the kickout flashing on the base of the roof. Homeowners must make sure they put the first kickout flashing over the end of the starter strip and nail it down with two nails to securely hold it to the roofing material. The kickout flashing must be water-tight and cover the drip edge and existing siding.
4. Apply a Shingle
The next step in installing roof flashing is to install the first shingle. This action requires homeowners to use sealant on the base of the flashing and place a shingle on top of the flashing material. Homeowners must nail the shingle down to the flashing, so it securely stays on top. Repeat this process for the entire shingle line and shingle course.
How to Repair Roof Flashing
After installing roof flashing, sometimes accidents can happen — material can break or severe weather can cause the flashing to break down over time. In either case, homeowners must decide whether they need to repair the step flashing on their own or if they should do a new roof installation.
- Step one — Pry up the damaged shingles and the existing flashing.
- Step two — Remove any roofing cement under the shingles and step flashing.
- Step three — Check damage to the underlying structures due to unforeseen leaks.
- Step four — Begin installing flashing and shingles using the above steps.
Conclusion
Homeowners should understand how to install flashing to prevent leaks and learn how to get rid of water leaks correctly. By creating an airtight seal and removing old flashing, homeowners can ensure their new roof is watertight.

Written By:
Olu Shokunbi
Frequently Asked Questions
Blog
Recent Articles