How to Patch a Simple Roof Leak (Step-by-Step)
Do mysterious puddles of water appear on the floor of your home after warm weather? The story of Atlantis is enthralling but not as captivating when reenacted in real-time in your home.
If your home has seemingly random puddles of water accumulating every time a storm rolls in, it’s likely your roof leaks. There is no need to panic, however, because we will teach you how to patch a simple roof leak;
Patching a roof is a relatively easy task that can be accomplished with a bit of detective work and handyman know-how.
How to Patch a Roof – Can You Patch a Roof Yourself?
Yes, you can. You do not need a professional roofer to repair most roofs. Do you need to get started on your roof repair ASAP? Here’s a summary with all the pertinent steps you need.
- Locate the leak – Keep an eye out for rusty metal, soft spots, and cracked caulking; these are often where roof leaks occur.
- Remove damaged materials such as nails, shingles, caulking, flashing, vent mounts, or comparable roof materials.
- Replace damaged materials – Common tools you will need to patch a roof include caulk, a caulk gun, roofing nails, a hammer, a flat bar, a utility knife, and a crowbar or pry bar.
- Test your repair by watering the suspected leak with a hose.
- Repeat this process for as many leaks as are present on roofs.
Can You Patch Part of Your Leaking Roof?
Yes, you can. The first step to patching a roof is locating the leak. Leaks are normally localized problems when your roof is in good shape. Most roof leaks occur because of missing shingles, exposed fasteners, or cracks and tears in the roof’s aluminum flashing.
Metal flashing involves sheets used to seal the joints between roofing materials and roof features. Once you have located the invading water in your house, the next step is to get on the roof and bolster your defenses.
It’s worth noting that the enemy may be less conspicuous than a puddle of water on the floor; roof leaks may disguise themselves as water stains on the ceiling, musty odors, or bulging patches on interior walls, so keep your eyes peeled.
Leaks on the roof may be conspicuous such as when shingles directly above the symptoms of the leak in the house are missing or inconspicuous, as is the case with damaged underlay or loose fasteners.
Apparent signs of leaks are rusty pieces of metal like nails or old flashing. You may also be able to feel a leak. Watch out for soft spots on your roof; these soft spots can indicate water damage or rot. Also, keep an eye out for missing siding, curled shingles, and cracked or missing caulk, as these may also indicate a leak’s location.
A Trick for Finding Difficult Roof Leaks
The best time to locate a leak is an hour or two after a storm has passed. Areas that remain damp hours after a storm has passed are good places to begin your search for a roof leak. You can also locate and stop leaks by using a garden hose to slowly soak the area you suspect a leak is coming from.
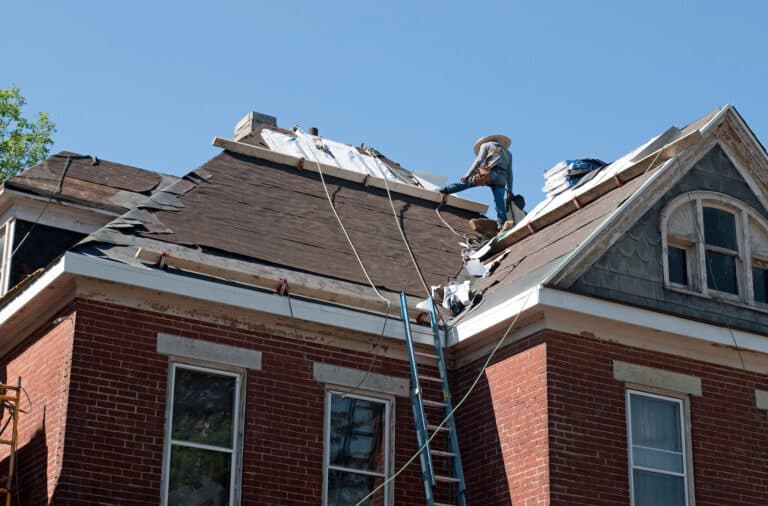
You’ve located the general area where you expect the leak is. Now what? Begin investigating the exact location of the leak by removing damaged shingles. Shingles are the flat, rectangular pieces of asphalt or composite material that make up the outer layer of a roof. You will have to remove curled back shingles in the majority of roof patch jobs.
To remove an asphalt shingle, slip your crowbar underneath it. You want to locate the nail that fastens the old shingle to the roof with the end of the crowbar. Stick the end of the crowbar under the nail heads, using leverage to unfasten them from the roof. Repeat the process of nail removal until the new shingle unfastens.

How Do I Fix a Leaky Roof?
The approach to patching a roof will depend on the type of leak you have.
Damaged Shingles or Underlay
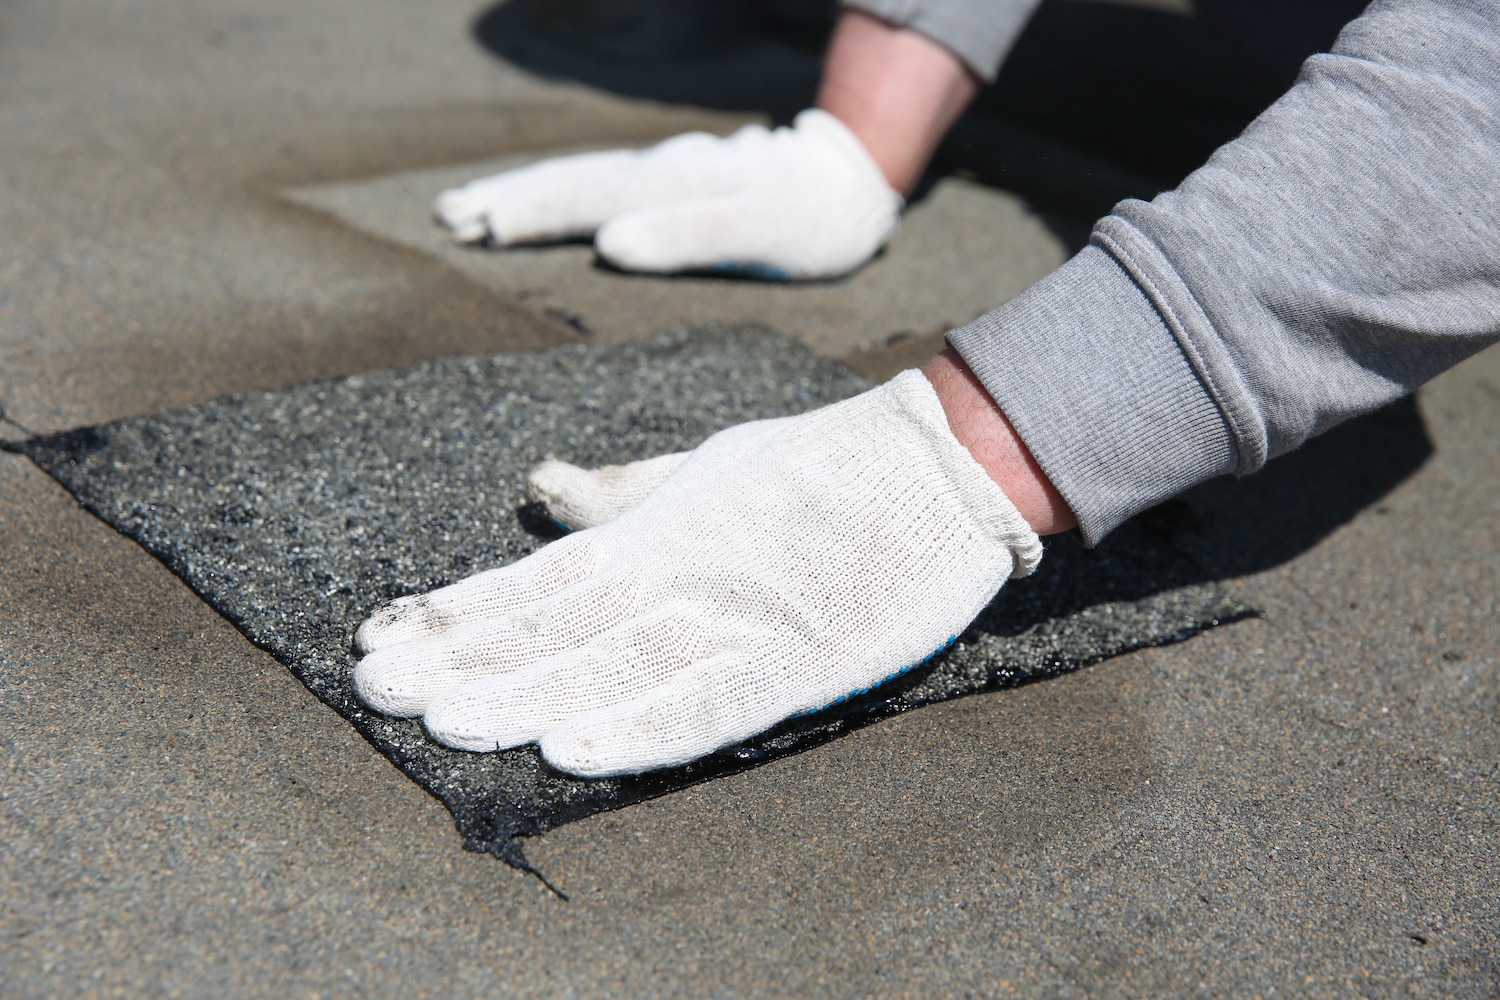
To perform services on a leak caused by damaged shingles, you will need to replace the shingles. Remove old shingles using a crowbar. Check the underlay to see if it shows signs of damage. If the underlay is damaged, it is best to replace it. If the underlay is also being replaced, make sure the replacement underlay overlaps the existing underlay to prevent new leaks from occurring.
Loose Fasteners + Roofing Cement
Loose fasteners allow water to leak into your roof. Best practice dictates you replace loose fasteners with new ones to prevent further damage. When you replace a fastener, make sure it is flush with the roof. You may also use a small amount of high-quality rubber boot and roofing cement to fill any gaps between the location of the old fastener and the new fastener.
Cracked Caulking
Leaks can also occur because of damaged sutures between chimneys, roof vents, or windows and the roof. Check the status of caulking around roof features, taking care to note signs of cracking or rot. To fix damaged caulking, scrape the old roof sealant from the roof with a putty knife. Apply a generous amount of new high-quality caulking to the leak area. Smooth applied caulking with a silicone palette knife. You can also use your finger to smooth caulk.
Fix Flashing
Step flashing is the sheet metal that is used to secure the joints between the walls of the house and the roof. Flashing channels water onto the asphalt shingles and off of the roof. Flashing that is loose, rusted, or bent allows water to seep into the house and will need replacing.
To replace damaged flashing, begin by removing the neighboring shingles. Check to make sure the weather guard under the flashing runs at least a few inches up the feature in the roof. For example, a chimney should have a weather guard or comparable material that runs from the underlay of the roof up the chimney, about five inches.
If the weather guard is damaged, replace it. Once the weather guard is in good repair, install new flashing to the roof with nails. Cover the new flashing with asphalt shingles. You can reuse old shingles if they are in good repair.
Trial and Error
Roof repair can be a trial and error process because leaks can result from a combination of problems. A good way to ensure you have properly patched your roof is to test your repair with the use of a hose.
Note: If you used any adhesives or sealants during your roof patching, be sure to allow adequate time for them to cure before wetting them. If you have a large damaged area on your roof, we recommend contacting a roofing contractor.

Written By:
Keiron Mohamed
Frequently Asked Questions
Blog
Recent Articles