How (And Where) To Nail A Roof Shingle (Picture Guide)
Roofing shingles are some of the essential materials you can put on your roof to keep your house secure, protect it from leaking, and ensure the structures around your home. However, as a homeowner, it can be helpful to know how to nail shingles so you can do any necessary repair work on your own without having to pay for a professional.
Learning the basic steps of how to install shingles, how to fasten shingles, and how to choose the right shingles is essential to making the right decisions for your home. As a homeowner, taking matters into your own hands can help you save money and de-stress! Let’s see the importance of shingles and the proper technique to use when installing them on your roof!
What Are Shingles?
First thing’s first — what are shingles? Roofing shingles work together with the underside on top of the roof that helps protect your house from the elements, wind, rain, hail, and snow. However, these roofing materials can only be installed if you do it in the correct order and with the right architectural shingles.
Roofing shingles can be either made out of aluminum, copper, stainless steel, or zinc-coated steel. Some roofing materials are better for certain climates compared to others. Fort Campbell, if a person lives in a hot and humid climate that experiences frequent storms and rain, stainless steel nails might be the best option. Furthermore, shingles roofing nails can protect against rust and corrosion over time.
The last characteristic that homeowners must consider when choosing a shingle is the fastener size and penetration angle. Shingles need to utilize the correct fasteners to connect to the underlayment and also require the right angle of penetration to remain secure to the roof.
How To Nail Roof Shingles
The next step in learning how to install roof shingles on your home is to learn the proper technique of installing shingles. Now that you have chosen the right type of shingles for your home, price range, and weather conditions, the next step is to learn how to nail the shingle so you can avoid costly repairs or replacements.
Tips To Keep In Mind
There are certain things to keep in mind before you begin nailing shingles properly:
- Use the correct tools to ensure a high quality of sheathing
- Choose the correct roofing material and size before installation
- Fasten the shingles with the correct penetration angle and corrosion-resistant roofing nails
- Install the right number of roofing nails per shingle (four nails or six nails) to keep it securely fastened on the roof
- Position the six nails per shingle according to the layout and installation instructions
- Correctly line up the shingles to avoid nails sticking out from the roof
Where To Nail The Shingles
After choosing the right type of shingles and keeping guidelines in mind, homeowners must learn where to nail the shingles to make them stay securely on the roof. Every shingle manufacturer contains its unique requirements for nailing shingles and correctly installing them on the underlying. The most important thing to keep in mind is that shingles should only be installed on the “anailing zone” on the roof.
How To Install Shingles
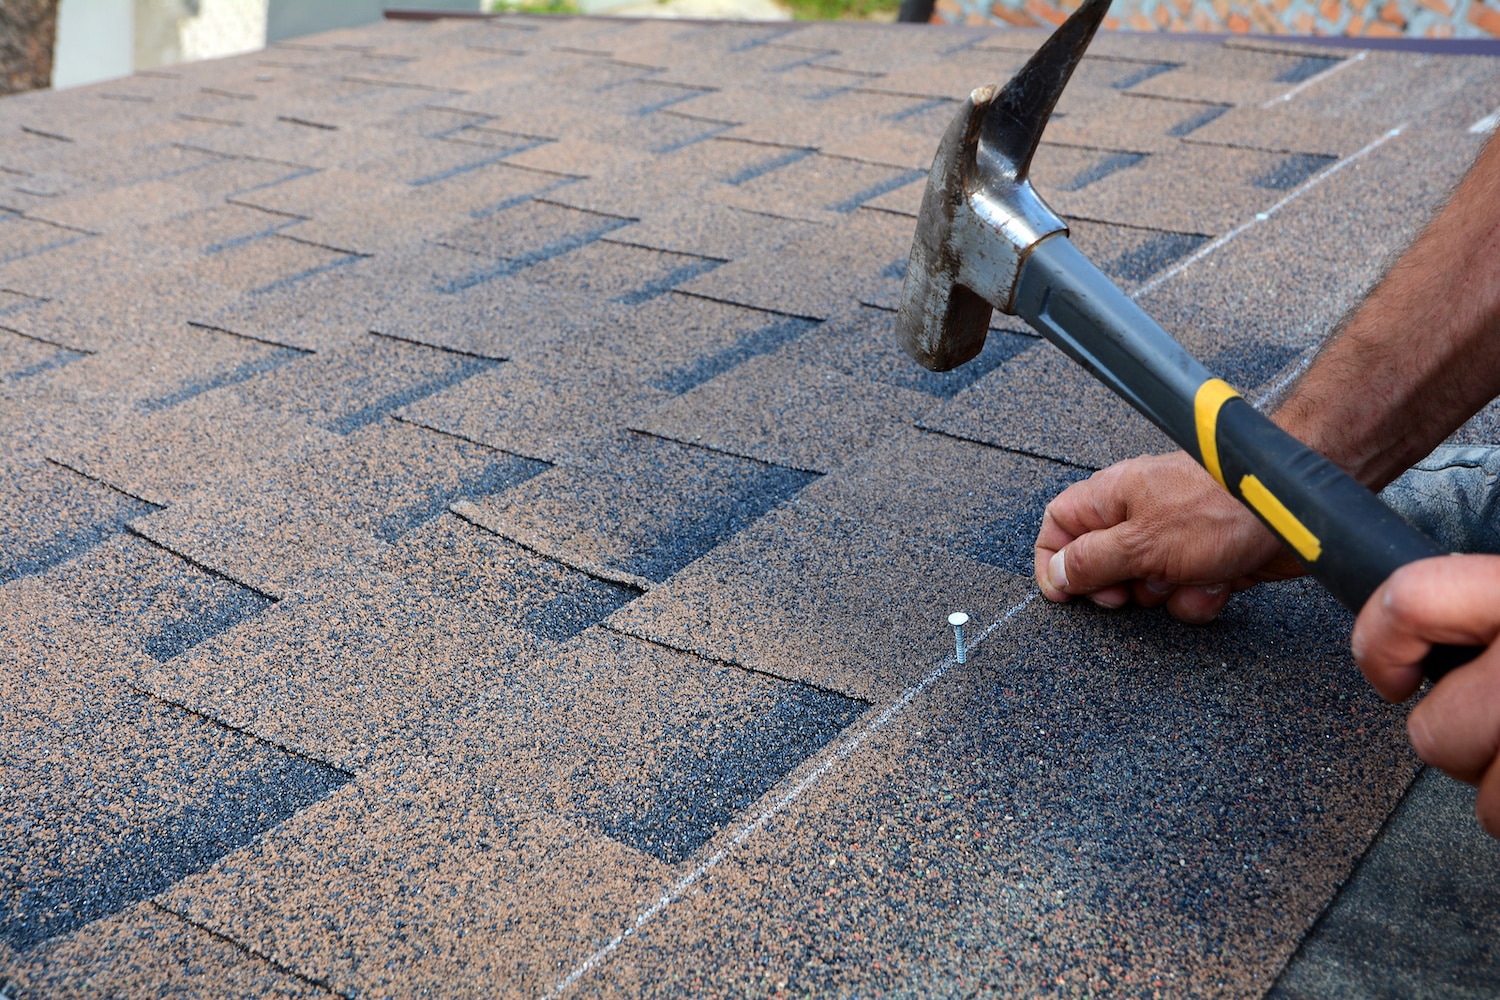
After choosing the shingles and learning where to install them, it can be helpful for homeowners to learn how to nail shingles and install them on the roof. The most important step is to use the proper equipment and align them no closer than 1” from the edge of the shingle.
Plus, homeowners who want to do this DIY method should keep the following tips in mind to avoid mistakes:
- Tap in loose nails with a hammer by hitting the nail heads
- Overdriven nails must be removed by the nail head to avoid holes and cracks in the underlayment
- A new nail must secure the next shingle if an old one is removed
- Analyze the proper nailing pattern before installation
Pre-Installation Checklist
Before you begin to nail in the shingles, homeowners should ask themselves these equations:
- Is my yard clean to avoid falling debris?
- Do I need to move patio furniture away from the house?
- Have I located the exterior power sources?
- Have I moved cars away from the roofing area?
- Do I have the correct ventilation to avoid mold growth and hot air getting trapped inside of my home?
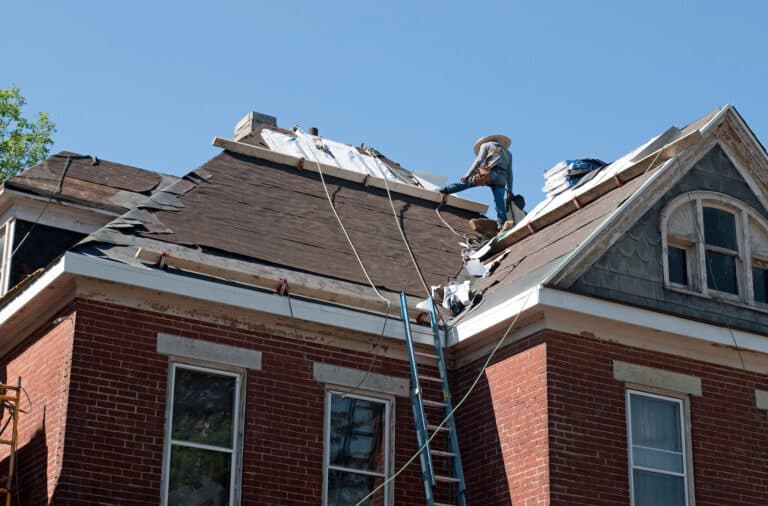
Prepare The Roof
The next step is to prepare the roof. The basic steps of this job is to lay the tarps on the ground to catch debris, remove any metal flashing, and sweep the deck of the roof to get rid of dirt, debris, or loose nails.
Install Starter Shingles
Now the installation begins! The first step of beginning to nail shingles is to install the deck protection and begin with the first layer of starter shingles.
- Lay the wood deck protection and underlayment over the covered decking
- Use the cap nails to protect the roof from a leak, tree branch blow, or high wind
- Install the new flashing
- Install the metal flashing (drip edge)
- Nail the drip edge onto the roof
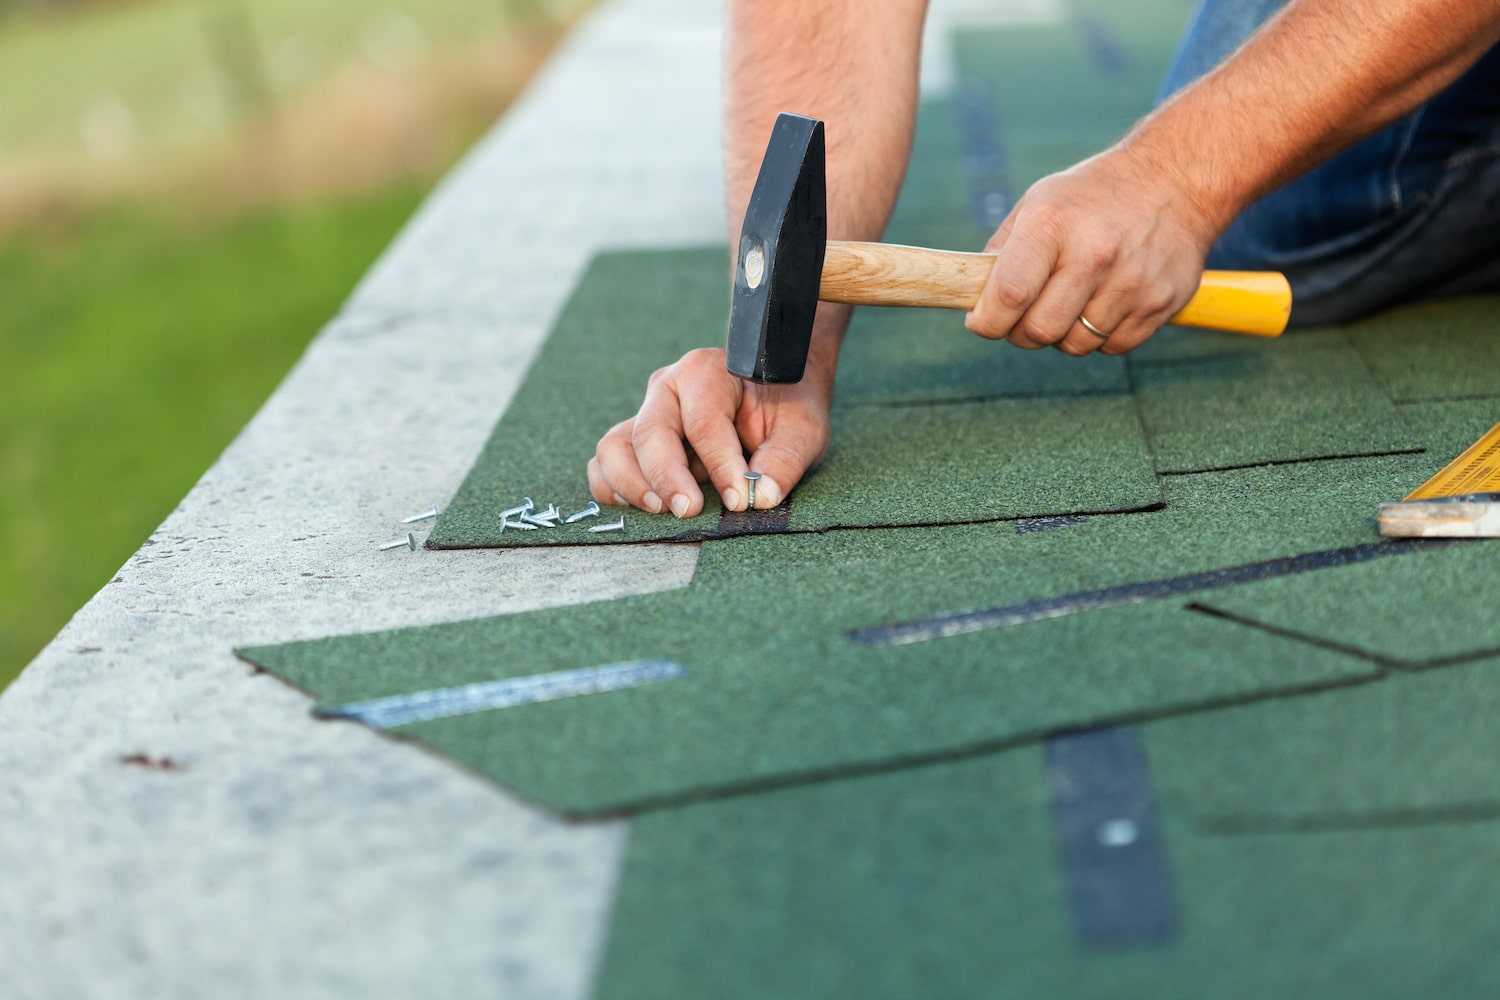
Install The Shingles
Once the underlayment and drip edge is installed, homeowners must learn the next step of how to nail in shingles.
- Begin laying the courses of shingles
- Keep in mind the nailing technique to hold the top edge over the rows of shingles underneath
- Follow the proper nailing pattern
- Cut the last shingle to size to make it flush with the lower layer
- Cut the last ridge shingle to the edge of the roof
Conclusion
As you can see, learning how to correctly install shingles can help homeowners follow their international building code, extend the shingle manufacturer’s warranty, and protect exposed parts of their roof from inclement weather.
Homeowners can avoid paying contractors or roofers for their services by learning the DIY steps of fixing roofs on their own. With minimal effort, homeowners can learn how to install asphalt shingles over the asphalt roofing cement to protect the shingle underneath and extend the lifespan of their homes.

Written By:
Olu Shokunbi
Frequently Asked Questions
Blog
Recent Articles